In my first article on Helm, we have seen together how useful this Kubernetes packaging tool is useful. Today, we will see how to find and use Helm charts and how to create your own templates.
Where to find Helm charts ?
You can find Helm charts on differents repositories :
How to use Helm Charts ?
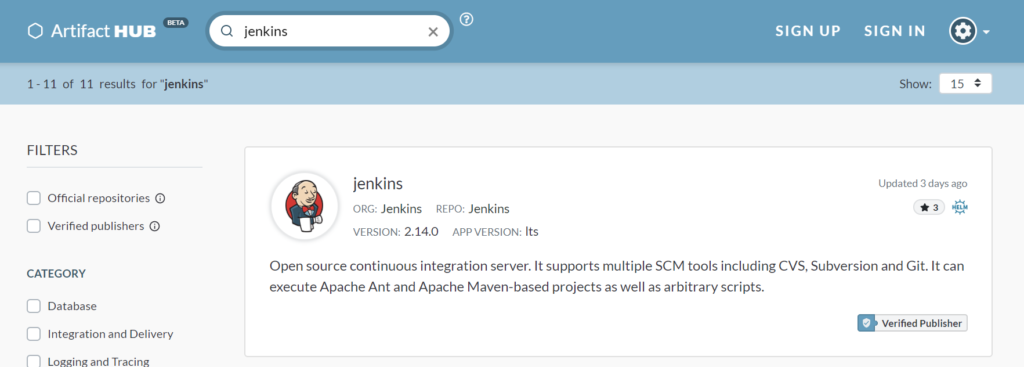
For example, if I want to install Jenkins through Helm, I just look for it on artifacthub.io :

We can see that a verified publisher which is a good thing. Then I click on it and just follow the instructions :
Get Repo Info
helm repo add jenkins https://charts.jenkins.io
helm repo update
Install Chart
$ helm install [RELEASE_NAME] jenkins/jenkins [flags]
How to create your own template ?
Example 1 : HelloWorld
In this basic example we will just create a basic helloworld in a template.
The first thing we need to do is to creating the chart by running the following command :
$ helm create mychart


mychart
|-- Chart.yaml
|-- charts
|-- templates
|   |-- NOTES.txt
|   |-- _helpers.tpl
|   |-- deployment.yaml
|   |-- ingress.yaml
|   `-- service.yaml
`-- values.yaml
Files content :
# Chart.yaml:
name: example

# templates/message:
This is the most {{ .Values.description }} message: {{ .Values.message }}

# values.yaml:
description: awesome
message: hello world!
We can use our basic Helm template as so :
$ helm template .
---
# Source: example/templates/message
This is the most awesome message: hello world!
Example 2 : Create a Kubernetes resource (ConfigMap)
Just as we did in the first example, we create our chart using :
$ helm create mychart
Creating mychart
The template we are going to create will be a ConfigMap. In Kubernetes, a ConfigMap is simply a container for storing configuration data. Other resources, like pods, can access the data in a ConfigMap.
Let’s begin by creating a file called mychart/templates/configmap.yaml:
apiVersion: v1
kind: ConfigMap
metadata:
  name: mychart-configmap
data:
  myvalue: "Hello World"
With this simple template, we now have an installable chart. And we can install it like this:
$ helm install full-coral ./mychart
NAME: full-coral
LAST DEPLOYED: Tue Nov  1 17:36:01 2016
NAMESPACE: default
STATUS: DEPLOYED
REVISION: 1
TEST SUITE: None
Now, we will remove the “mychart-configmap” hard-coded name. Names should be unique to a release. So we might want to generate a name field by inserting the release name.
Let’s alter configmap.yaml accordingly.
apiVersion: v1
kind: ConfigMap
metadata:
  name: {{ .Release.Name }}-configmap
data:
  myvalue: "Hello World"
Now when we install our resource, we’ll immediately see the result of using this template directive:
$ helm install clunky-serval ./mychart
NAME: clunky-serval
LAST DEPLOYED: Tue Nov  1 17:45:37 2016
NAMESPACE: default
STATUS: DEPLOYED
REVISION: 1
TEST SUITE: None
You can run helm get manifest clunky-serval to see the entire generated YAML.
Note that the config map inside kubernetes name is clunky-serval-configmap instead of mychart-configmap previously.
Notes
We have seen in the previous article how to install charts using helm install. If you use –dry-run, it will make it easier to test your code because it will return the rendered template to you so you can see the output.
However it won’t ensure that Kubernetes itself will accept the templates you generate. It’s best not to assume that your chart will install just because –dry-run works.
Finally, take a look a this documentation. It provides all best practices for your helm templates.
Sources
jfrog.com
youtube.com (agent of change)
helm.sh
medium.com/@maorfr

