Introduction
In the last article we have seen together how many features Jelastic Cloud offered.
The Market Place is one of them which will allow the customer to quickly deploy several applications :

In this article, we will see how to install a WordPress Cluster easily.
How to install a WordPress Cluster through the Market Place ?
First, let’s connect on Jelastic Cloud web interface and then click on the following market
place icon :

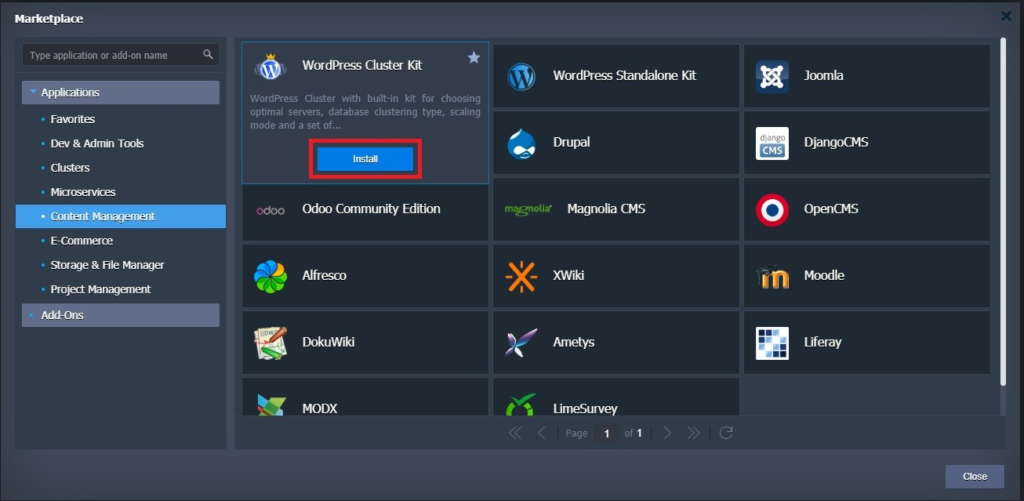
Then, select the application you want to install. In our case a “WordPress Cluster” :

Define all features you want to install, the name of your environment and it location :

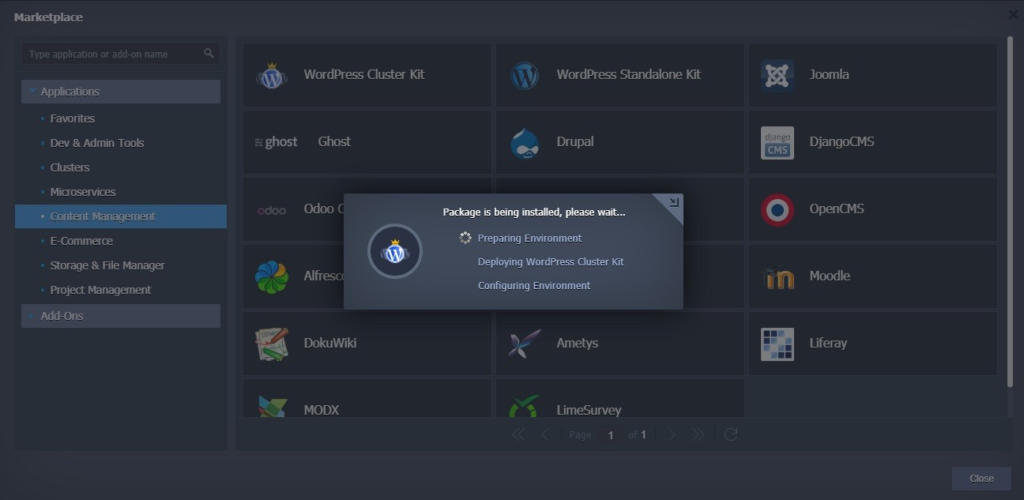
Click on “Install” and let Jelastic install your environment :

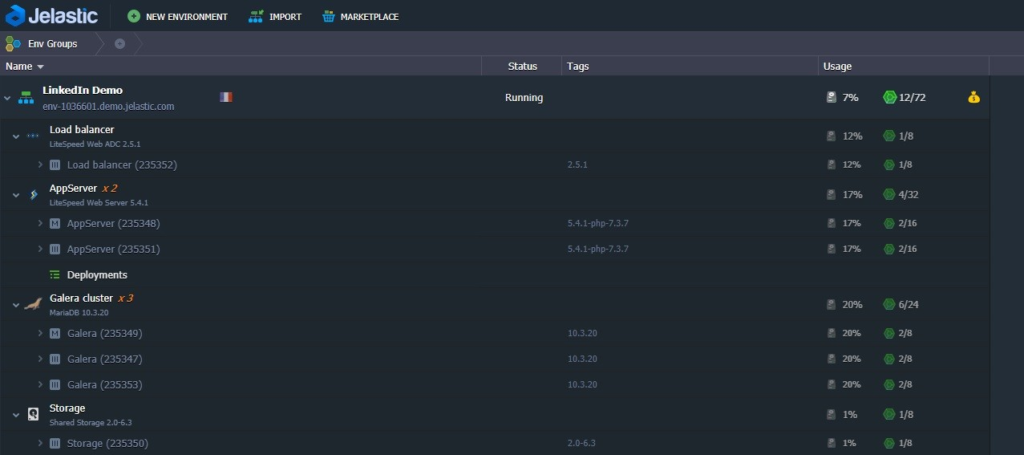
That’s it ! We can see our environment with all containers installed :

If we open the following URL, we can see that our WordPress has been correctly installed :

How to configure the WordPress Cluster ?
Basic Settings can be displayed and modified through this menu :

The following menu will be displayed :

- Custom domains : set external domain address for your site
- Custom SSL : upload and use custom SSL certificates
- SSH Access : Web SSH / SSH Gate
- Endpoints : refers to the possibility of TCP/UDP ports mapping via the Shared Load Balancer, which is intended to simplify the instances’ collaboration with third-party tools and resources
- Firewall : possibility to control your nodes availability both from inside and outside of the Platform
- Monitoring : Monitor your environment
- Collaboration : manage account billing, regulate permissions of users.
- Change Owner : Transfer environment to another user
- Migration : change location of your environment
- Export : move environment between clouds

This menu will let you change the topology of your Environment and manually scale it :

You will be able to add containers, modify resources and billing :


That’s it, you have now a WordPress Cluster, installed and configured and it took only 5 minutes !
Sources
docs.jelastic.com

